Hope y’all are having a beautiful, productive spring! We are enjoying the fresh lettuce & greens from the garden. We have beets, spinach, cabbage, broccoli, kale, lambsquarter, chickweed, cucumbers, cilantro, garlic, dill, onions, potatoes, and a few other plants and herbs planted out in our early garden.
This is our first spring living at our new little homestead! We are putting a lot of attention on our garden and hope to do a lot of canning, fermenting, drying and eating fresh from the bounty!
We have enjoyed it so much! With planting our cool weather plants, working in our mini green house, making new raised beds, Cold frames, putting up gates and putting in raspberries, and more- we have been joyfully busy! It has been a lot of fun taking some pictures we thought y'all might enjoy! We will even share the how-to’s on a few ideas we had and thought you might like to try them yourself.

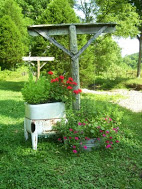
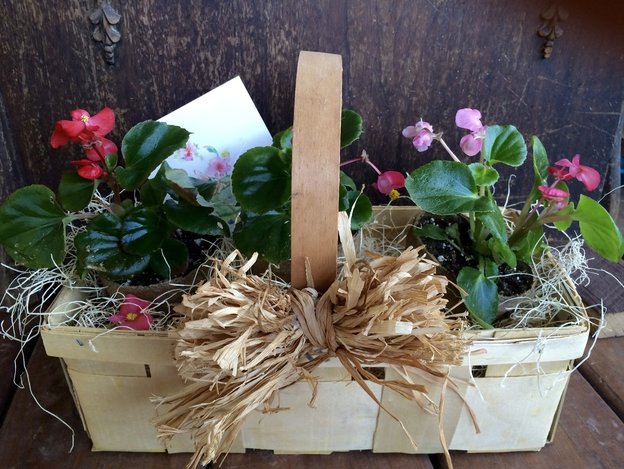
I found two of these nicely-made vine baskets at a thrift store, then I found the flowering plant combo at a garden center for only a couple of dollars. After Mothers Day plants and seeds are many times reduced in price (of course you could grow your own flowers by starting very early and keeping and tending to them in a green house till it warms up enough). By just sitting the container of flowers right in the basket -it made a beautiful and instant center piece for an outdoor table before guests arrive! This bright bouquet is still giving us joy and can be planted in the garden too!
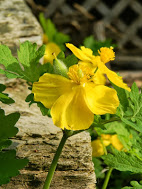
We are raising our own zinnias from seed I just planted about a fifty foot row (where blueberries will go this fall, after the Zinnias are through blooming.
I love to grow the California Giant Zinnias - they get huge and grow well in our clay soil! These colorful beauties make wonderful bouquets too! Check out my Youtube video about growing Zinnias!
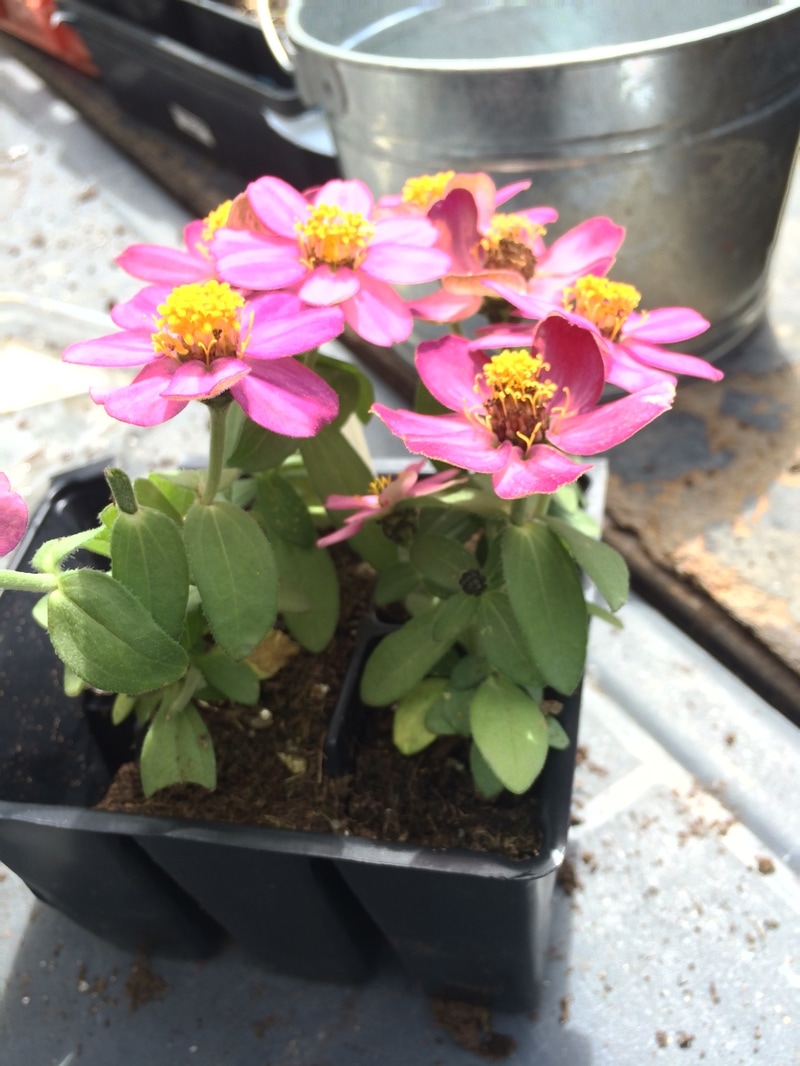
Another fun idea for spring time gifts like Mothers Day or summer get togethers or if you just want to brighten a corner on the porch or even inside the home is to
find a six or four pack of small zinnias or begonias or some other small but bright flower
(you may want to by several of these packs, depending on the amount you wish to work with)
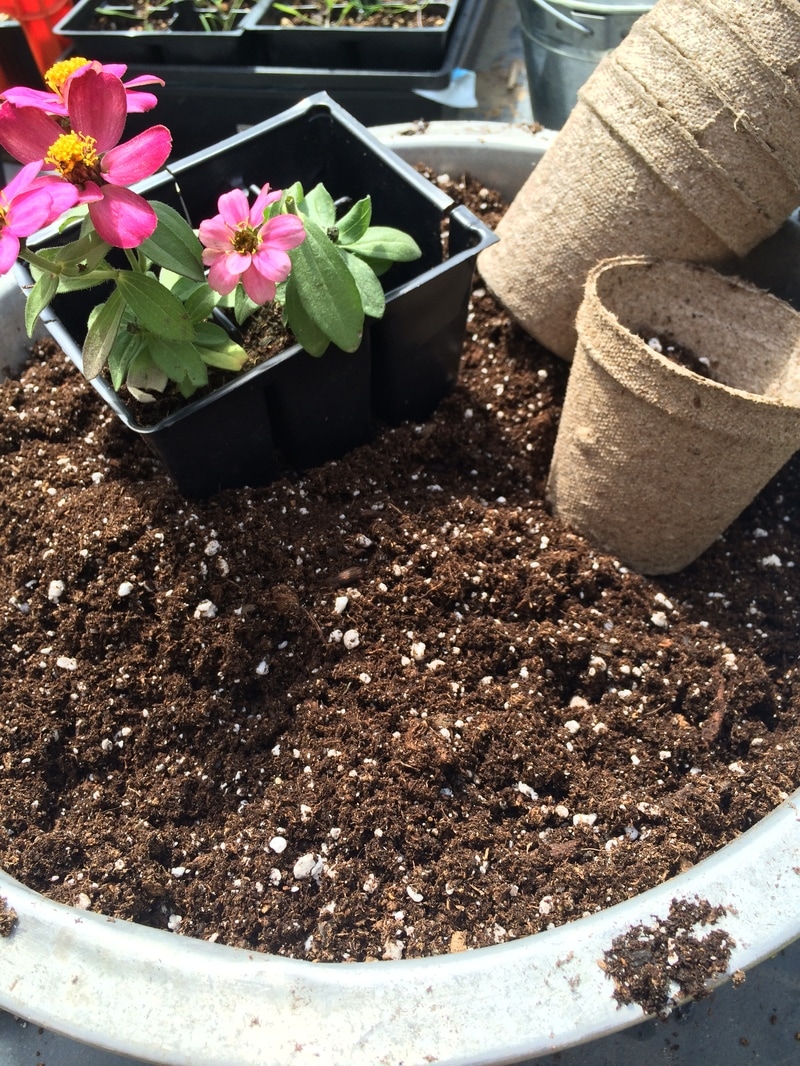
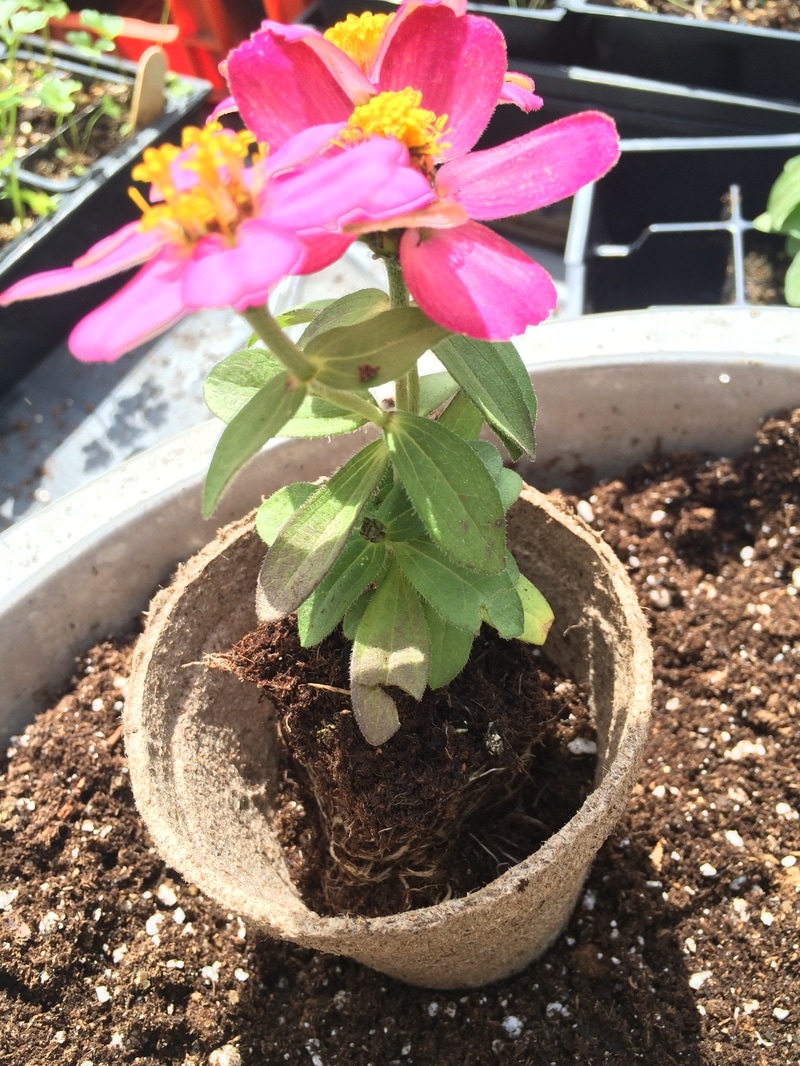
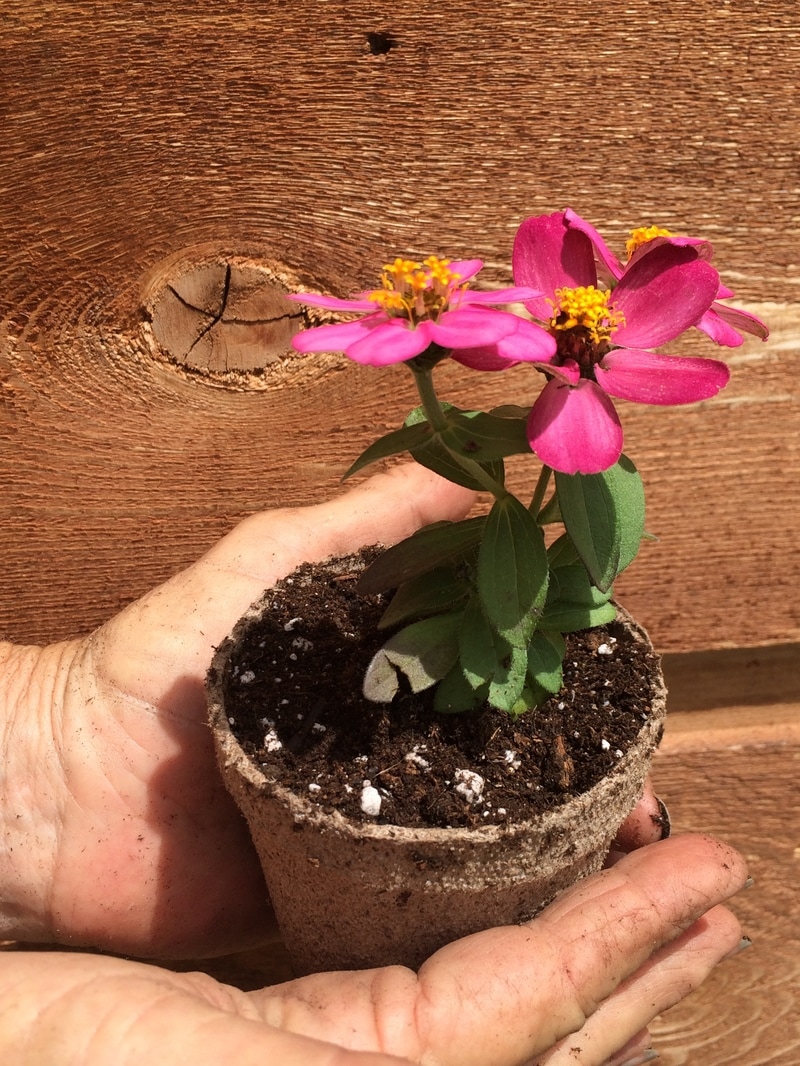
Put a single flower plant in a Peat Pot (3”or so ) covering roots with a light potting soil(water lightly so pots don't get to soggy)
We've put these small sweet little flower pots in baskets, tins and other cute containers.
We even made these for “name tags” at the meal table by using one peat pot of flowers, if you like, tie jute around the out side of the pot with a cute bow, write one name on one craft stick - then push the craft stick down in the soil of the flower pot with the name showing ! They are so cute and you can even send them home with your family, friends or guests! Let them know that when they get home, they can dig a little hole and plant pot and all in their garden, if they want!
find a six or four pack of small zinnias or begonias or some other small but bright flower
(you may want to by several of these packs, depending on the amount you wish to work with)
Put a single flower plant in a Peat Pot (3”or so ) covering roots with a light potting soil(water lightly so pots don't get to soggy)
We've put these small sweet little flower pots in baskets, tins and other cute containers.
We even made these for “name tags” at the meal table by using one peat pot of flowers, if you like, tie jute around the out side of the pot with a cute bow, write one name on one craft stick - then push the craft stick down in the soil of the flower pot with the name showing ! They are so cute and you can even send them home with your family, friends or guests! Let them know that when they get home, they can dig a little hole and plant pot and all in their garden, if they want!


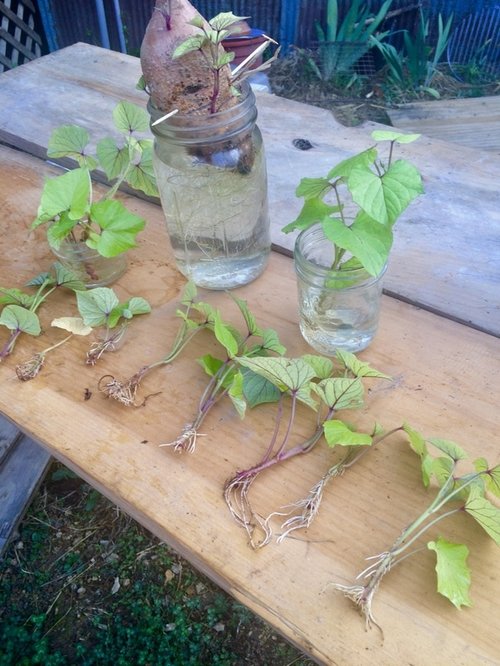
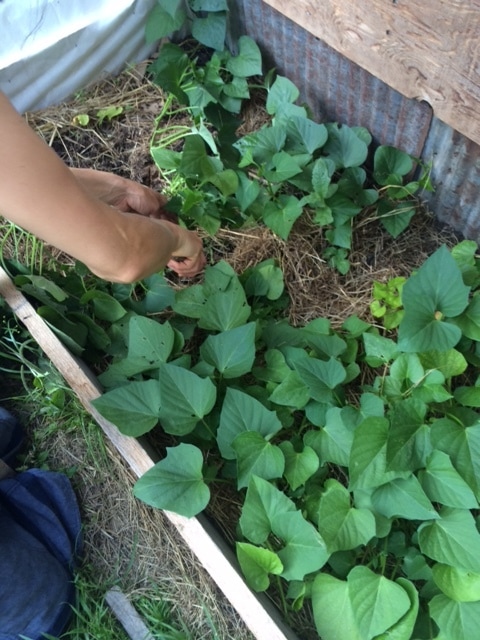
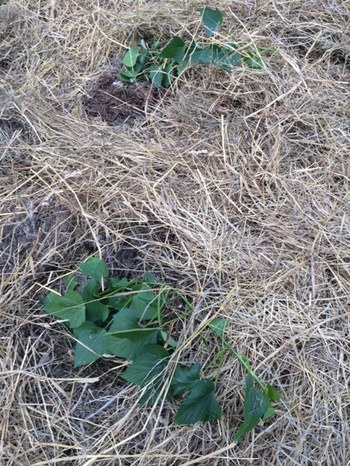
Back in February we started sweet potato slips indoors, by putting an organic sweet potato in a wide mouth jar with water. Toothpicks stuck in middle of sweet potato help hold it just so that the sweet potato is half in water and half out. Soon little shoots appeared on the top portion of the potato. When they have grew out enough, we gently pulled them off the potato and placed the shoots in their own smaller jar of water. We left the sweet potato in its jar to make more slips. After the shoots or slips grew nice roots we planted them in the cold frame to keep them very warm and growing till time (when it's really warm cause sweet potatoes love the heat!) to plant out in the garden. This worked very well for us !
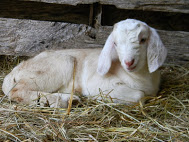
This could also be a great learning- by-doing project to get your children involved in-they will love watching and helping these beautiful plants grow. They may also learn as they harvest the potatoes from the ground that growing their own food is something they can do and that come time for supper sweet potatoes taste very good!
This could also be a great learning- by-doing project to get your children involved in-they will love watching and helping these beautiful plants grow. They may also learn as they harvest the potatoes from the ground that growing their own food is something they can do and that come time for supper sweet potatoes taste very good!
|
|
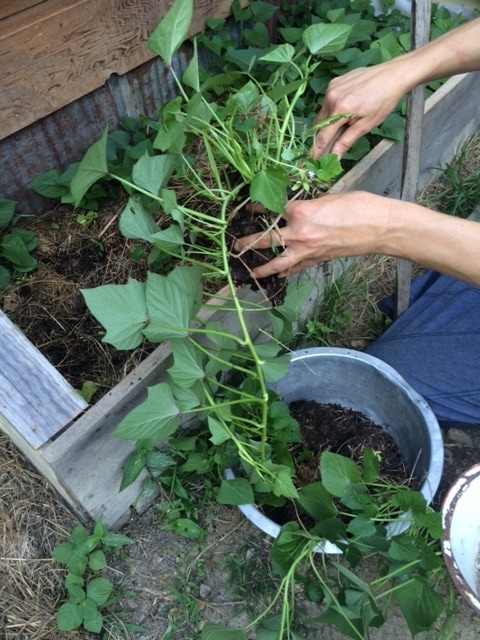
This morning we planted the last of the sweet potato slips in our early garden & out in our sunny-warm weather garden we planted Yellow Watermelon and Roma Tomatoes that we started by seed. They are growing very nice and healthy, we are thankful!. Speaking of vegetables ….
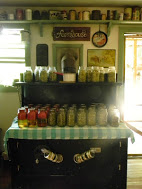
A wonderful way to preserve and prepare many easy to grow veggies is by fermenting! (Now, our veggies weren't ready for harvest yet so we purchased some organic cabbage, carrots, etc from a local farm stand- you could do the same!)
The process is fairly simple and the food, once its ready, is so good and very healthy for you!
Fermenting vegetables helps to keep your food fresh without freezing or canning! Which is really handy for us off-griders It is an age old, proven art of ”putting food by.” Fermented food contains many enzymes, nutrients, and probiotics. This super-food is so good for your digestion and builds your friendly bacteria that is so helpful for your body’s health. Ferments are just full of life! A book that I refer to often and keep on hand, this time of year is called-
Keeping Foods Fresh-Old World Techniques and Recipes!

We love this book! It also contains great methods of preserving by means of keeping vegtables and fruits in honey, oil, salt, sugar, vinegar and by drying. If you love and enjoy the taste of your gardens bounty, you'll love this book!
Here is a great ferment/kraut recipe that we were introduced to lately, we made up a batch a couple of weeks ago and have been enjoying it every day since!
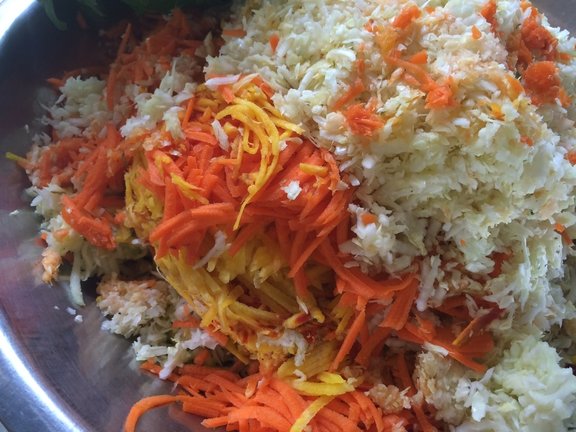
Use organic ingredients-this is a BIG batch yielding approx. 5 quarts- we fired up the generator & used our food processor to shred everything & the juicer for the celery.
Juice 1 Bunch of Celery
Shred the following Veggies:
2 medium heads of Cabbage (save a few outer leaves for later)
15 large Carrots
1 large Golden Beet
1 Granny Smith Apple
1 bunch Parsley
1/2 bunch Cilantro
4 inch piece of Ginger
1 bulb of Garlic (yes the whole bundle of cloves-garlic helps the fermentation process start)
You can add a jalapeño if you like!
In a LARGE bowl, mix all the shredded vegetables (& apple!) together and add 1/4 teaspoon of liquid Kyolic Garlic and the Celery juice, mix thoroughly.
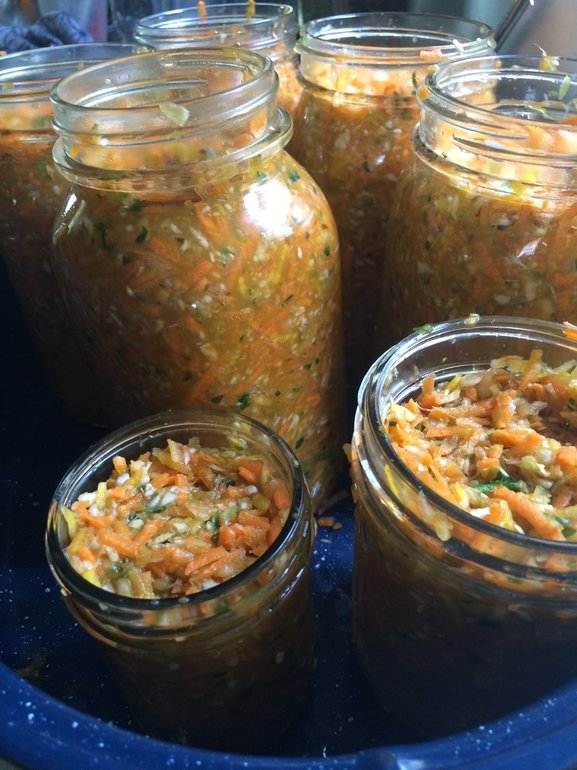
Pack the vegetables (and juices) into quart jars, leaving 1/2 inch of head space. Place a cabbage leaf over the top of the packed vegetables, tucking it into the jar, put the lids on loosely so it can breathe. Keep in a cool, dry, dark place for 7 days (we put the jars in a roaster pan to catch any bubbling juices), then your ferments/kraut is ready! Store in a cold place like a refrigerator or a cooler with ice- this slows down the fermenting process. The ferments/Kraut will keep for up to 3 months.
Here is a great ferment/kraut recipe that we were introduced to lately, we made up a batch a couple of weeks ago and have been enjoying it every day since!
Use organic ingredients-this is a BIG batch yielding approx. 5 quarts- we fired up the generator & used our food processor to shred everything & the juicer for the celery.
Juice 1 Bunch of Celery
Shred the following Veggies:
2 medium heads of Cabbage (save a few outer leaves for later)
15 large Carrots
1 large Golden Beet
1 Granny Smith Apple
1 bunch Parsley
1/2 bunch Cilantro
4 inch piece of Ginger
1 bulb of Garlic (yes the whole bundle of cloves-garlic helps the fermentation process start)
You can add a jalapeño if you like!
In a LARGE bowl, mix all the shredded vegetables (& apple!) together and add 1/4 teaspoon of liquid Kyolic Garlic and the Celery juice, mix thoroughly.
Pack the vegetables (and juices) into quart jars, leaving 1/2 inch of head space. Place a cabbage leaf over the top of the packed vegetables, tucking it into the jar, put the lids on loosely so it can breathe. Keep in a cool, dry, dark place for 7 days (we put the jars in a roaster pan to catch any bubbling juices), then your ferments/kraut is ready! Store in a cold place like a refrigerator or a cooler with ice- this slows down the fermenting process. The ferments/Kraut will keep for up to 3 months.
Another book we have learned about fermenting from is- Ferment Your Vegetables A Fun and Flavorful Guide to Making Your Own Pickles, Kimchi, Kraut, and More
by Amanda Feifer
by Amanda Feifer

Hope y'all enjoy these recipe and ideas, until next time, may you have a blessed weekend!
Vicki
Vicki
 RSS Feed